Switching to a new point of sale system sounds simple until you’re actually doing it. New hardware shows up on your doorstep, someone has to upload the entire product catalog, staff needs to learn a system they’ve never seen, and through all of it the store still has to open on time. Rush any part of this and you end up with long lines, missing stock counts, and a team that doesn’t trust the new register.
This POS implementation checklist walks through nine steps, starting with figuring out what your business actually needs and ending with what happens after you go live.
Quick Answer
A POS implementation checklist covers three phases: pre-implementation (requirements, budget, vendor selection), implementation (hardware setup, data migration, integrations, training, testing), and go-live (launch and ongoing support). Working through each phase in full, rather than skipping ahead, is what keeps a rollout on track.
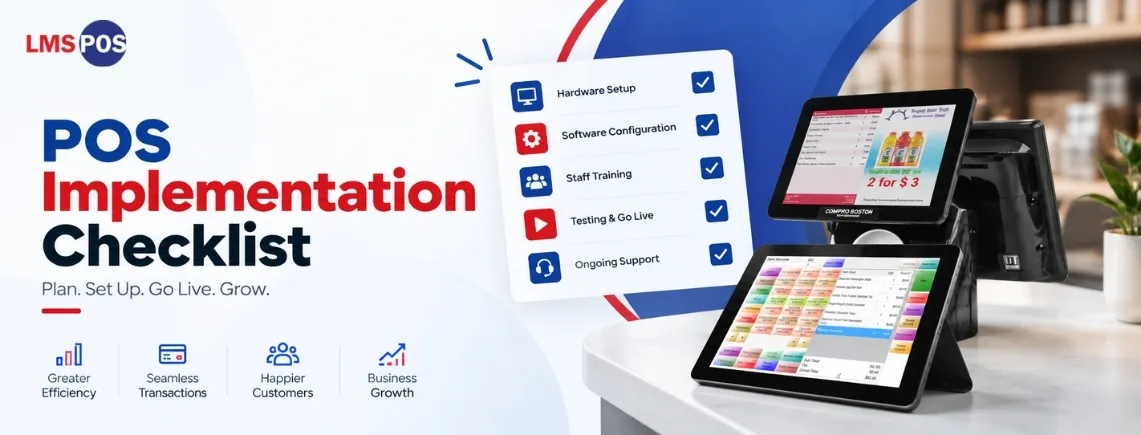
Master POS Implementation Checklist
- Business requirements defined
- Budget set
- Vendor selected and demo/trial completed
- Hardware sourced, installed, and tested
- Data migrated and verified
- Integrations connected
- Staff trained hands-on
- Full system tested (UAT complete)
- Go-live executed with support plan active
- 30-day check-in scheduled
Why Is POS Implementation Important?

Your POS system sits at the center of daily operations. Checkout speed, inventory counts, how fast a cashier can process a return, all of it runs through this one piece of software. So when the setup is rushed, the problems don’t stay contained to launch day. Stock counts drift, transactions slow down, and staff stop trusting the register enough to actually use it right.
A well-planned rollout does more than get a terminal blinking. Checkout gets faster, inventory stays accurate without someone manually recounting shelves, and fewer errors mean less cleanup for whoever handles the books. Customers notice this too. Nobody remembers a fast checkout, but everybody remembers a slow one.
Who are Involved in POS Implementation?
This isn’t a one-person job, and treating it like one is usually where things start going sideways.
- Leadership signs off on the budget, sets the go-live date, and makes the final vendor call. When owners or managers visibly back the change, staff who are on the fence about it tend to come around faster.
- IT or technical support, whether that’s someone in-house or the vendor’s support line, handles the hardware setup, the network side of things, PCI DSS compliance, and whatever breaks during testing.
- Frontline staff should be part of vendor evaluation, not just training after the fact. They’re the ones ringing people up all day, so their read on what’s clunky or missing usually beats a feature checklist.
- The POS vendor should stick around past the sale. A decent one helps with data migration, provides real training materials, and actually picks up the phone if something goes wrong in the first few weeks.
Keeping all four groups looped in, rather than treating this as an IT-only project, is what change management actually looks like in practice, and it matters just as much as the technical setup.
Pre-Implementation Checklist: Planning Before You Buy
Before any hardware arrives or a contract gets signed, you need clarity on what your business actually needs, what you’re willing to spend, and who you’re buying from. Getting these three right early is what keeps the rest of the rollout from going sideways.
Business Requirements Checklist
- Transaction volume and peak hours estimated
- Must-have features listed: inventory tracking, loyalty programs, split payments, gift cards
- Industry-specific needs identified, such as lottery tracking and age verification for liquor stores, grocery, convenience, or smoke and vape shops, or table and kitchen management for restaurants
- Number of terminals, tablets, or registers confirmed
- Required system connections noted (accounting, CRM, e-commerce)
Budget Checklist
- Hardware, software licensing, installation, and training costs accounted for
- Ongoing costs factored in: payment processing fees, support plans, future upgrades
- Dual pricing or cash discounting availability confirmed with vendor
- Setup cost structure clarified (separate line item vs. bundled quote)
POS Vendor Selection Checklist
- At least two or three vendors compared against your requirements
- Vendor’s category experience confirmed (grocery, liquor, convenience, smoke and vape, restaurant, general retail)
- Cloud POS vs. on-premise POS decision made
- Vendor’s role in hardware setup and data migration clarified
- Demo or trial completed; full feature list reviewed
- Hardware failure/support policy for first few weeks confirmed
- Managers and frontline staff included in the decision
Recommended Read: Cash register vs POS system
Implementation Checklist: Setting Up the System
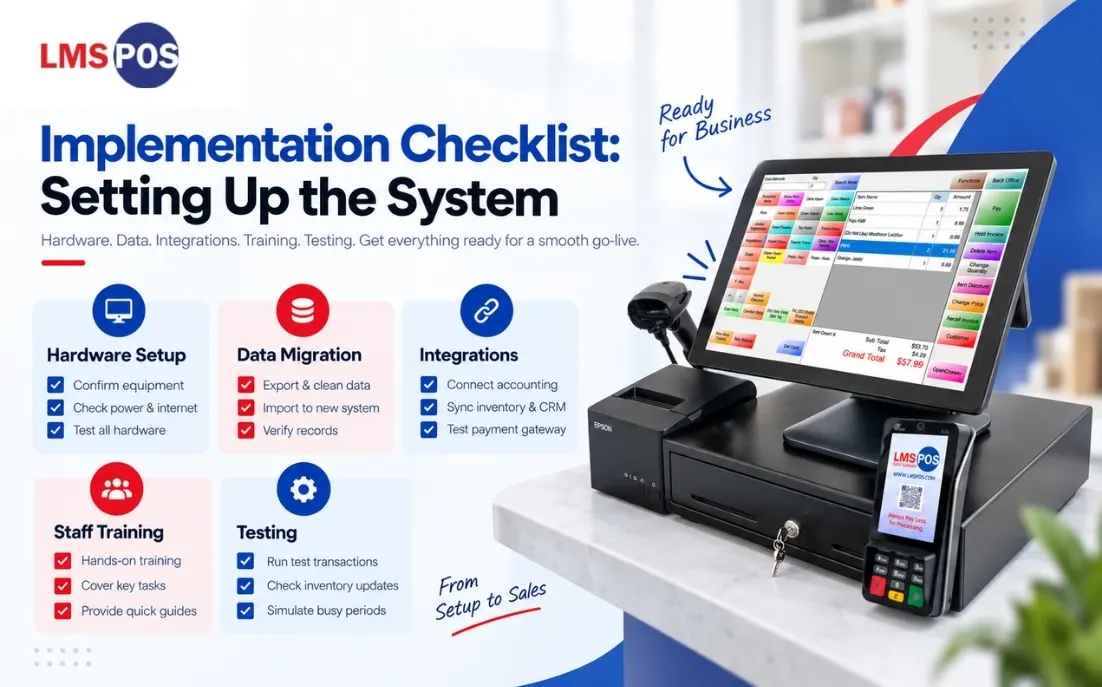
With a vendor locked in, the work shifts to physically and technically building out the system, hardware installed, data moved over, other tools connected, staff trained, and everything tested before it touches a real customer.
POS Hardware Setup Checklist
- Included vs. separately sourced equipment confirmed: terminal, barcode scanner, receipt printer, cash drawer, card reader (check the vendor’s certified hardware list if reusing existing equipment)
- Power outlets, network drops, and Wi-Fi strength checked at every register
- Backup internet connection configured
- Spares on hand: extra scanners, cables, printer paper
- Terminals mounted and cables routed safely
- Every hardware piece tested individually before connecting to the live system
Some vendors, like LMS-POS, bundle hardware and software together so equipment arrives pre-configured and ready to plug in.
POS Data Migration Checklist
- Product catalog, pricing, tax rules, and customer data exported from the old system
- Data cleaned: duplicates removed, mismatched categories fixed, outdated pricing updated
- Data formatted to match the new system’s import requirements
- Bulk upload completed where possible
- Products, prices, and customer records spot-checked post-import
- Backup of old system’s data retained
If you’re migrating a liquor store’s product catalog specifically, this liquor store inventory management guide covers how to organize stock data before the switch.
POS Integration Checklist
- Accounting software: sales, refunds, and taxes flowing through automatically
- Real-time inventory management confirmed working
- CRM and loyalty programs connected and syncing purchase history correctly
- Payment gateway supports card, mobile wallet, EBT, and gift card payments; dual pricing checked
- Online and in-store inventory synced (if selling online)
Liquor and convenience stores especially benefit from lottery reconciliation built directly into the POS, so ticket sales, payouts, and settlements don’t have to be tracked by hand.
POS Training Checklist
- Hands-on sessions completed before go-live
- Core tasks covered: ringing up sales, handling refunds and voids, applying discounts
- Age verification and compliance steps included for restricted-product retailers
- Internal go-to person designated for quick questions
- Quick-reference guide left at every register
- Refresher session scheduled two to four weeks post-launch
POS Testing Checklist
- Test transactions run: sales, refunds, discounts, split payments
- Inventory levels confirmed updating correctly after each test sale
- Every payment method tested (cash, card, mobile wallets)
- User permissions verified for each staff role
- Busy-period load simulated
- Receipt printers, kitchen printers, and barcode scanners confirmed working
- Contingency plan tested (internet drop, terminal failure mid-transaction)
This is where user acceptance testing (UAT) happens, real staff working through real scenarios before customers ever see the new system. Never go live without completing this step.
POS Go-Live Checklist: Launch Day and Beyond
Testing is done and the system is ready, but go-live isn’t a single moment; it’s the first stretch of the system running for real. Having a plan for launch day and the weeks after is what keeps small issues from turning into lost sales.
- Slower business day chosen for launch (avoid weekends and peak hours)
- Pilot rollout at one location completed before phased rollout to others (multi-location businesses)
- The old system kept available as a fallback during the first shift
- Support contact available on-site or on-call
- Early error patterns monitored: wrong pricing, missing modifiers, printer routing issues
- Staff check-in completed in 24-48 hours
- Sales reports and system performance reviewed after week one
- 30-day check-in scheduled
- Automatic database backups confirmed; technical support contact saved
Go-live isn’t the finish line; it’s the start of the system actually living in your business. Multi-location businesses especially benefit from treating each new site as its own small rollout, carrying lessons from the pilot store into every one that follows.
Need help planning your go-live day? Contact the LMS-POS team for on-call support during your rollout and post-launch check-ins.
Common POS Implementation Mistakes to Avoid
Even well-planned rollouts run into the same handful of problems. Knowing what to watch for ahead of time makes them easier to avoid.
- Skipping staff input during vendor selection. The people using the system every day should weigh in before the decision’s locked in.
- Not testing thoroughly enough. One untested payment method or a printer routing issue can stop checkout cold.
- Launching during peak hours. Even the best-planned rollout goes smoother on a quiet day.
- No backup plan. Internet drops and hardware fails, sometimes both at once.
- Treating training as a one-time thing. New hires show up, systems get updated, and one training session at launch doesn’t cover either.
Final Thoughts
A successful POS implementation comes down to covering every phase in full: define your needs, pick the right vendor, set up hardware, move your data, connect your systems, train your team, test everything, and then go live with a support plan ready. This checklist holds up whether you’re running one independent store or juggling several locations.
Every rollout looks a little different depending on size, industry, and what you’re already working with, but the underlying idea doesn’t change: treat this as an ongoing process, not a single install day. Businesses that stay on top of each phase tend to see the payoff from a new POS sooner rather than later.
Ready to switch to a POS system built for your store? LMS-POS bundles hardware, setup, and staff onboarding into one smooth implementation for liquor, grocery, convenience, and smoke shop retailers.
Frequently Asked Questions
What is POS implementation?
POS implementation is the process of setting up a point of sale system in a business. It covers choosing hardware and software, migrating existing data, integrating the POS with other systems like accounting or inventory, training staff, and supporting the system after launch.
How long does POS implementation take?
Timeframes vary by business size and complexity. A single-location small business can often be up and running in a few days, while multi-location or enterprise rollouts with custom integrations can take several weeks to a few months to fully complete.
How much does POS implementation cost?
Most POS software runs $50 to $200 per month per register, while hardware is typically a one-time cost of $300 to $1,200 for a full terminal setup. Setup and implementation fees vary widely by vendor, ranging from $0 to $5,000 depending on complexity, though some providers, like LMS-POS, waive setup fees entirely and bundle hardware, software, and onboarding into one quote.
How do you train staff on a new POS system?
Start with hands-on training sessions before go-live rather than on the first live day. Focus on core daily tasks first, such as processing sales and handling refunds, then designate an internal point person staff can ask quick questions to after launch.
What are common POS implementation mistakes?
The most common mistakes include skipping staff input during vendor selection, not testing the system thoroughly before go-live, and launching during peak business hours. Having no backup plan for outages and treating staff training as a one-time event are also frequent issues.
What should a POS implementation checklist include?
A complete checklist should cover business requirements, budget, vendor selection, hardware setup, data migration, system integrations, staff training, pre-launch testing, and post-launch support.
Can I implement a POS system myself, or do I need a vendor's help?
Simple, single-terminal setups can often be self-installed using the vendor’s documentation and support line. Larger rollouts with multiple locations, custom integrations, or industry-specific needs usually go smoother with hands-on help from the vendor or an implementation partner.

Dipesh Shrestha
Dipesh Shrestha is the co-founder of Compro Boston, the company behind LMS-POS. With over two decades of hands-on experience in point-of-sale (POS) deployment, payment processing ecosystems, and retail hardware logistics, he specializes in building secure, highly optimized checkout environments.